Help Center 
Get instructions and help for test creation, administration and scoring with ILAP. Browse by topic.

Get instructions and help for test creation, administration and scoring with ILAP. Browse by topic.
Watch this short tutorial on ILAP to get started!
In order to create a test collection, navigate to the home page and click on “Create” under “New test collection” on the left. You can now create a new test collection. Enter the name and the description. An access code is provided; however, you may change this and set your own access code or re-generate a new random code by clicking on “Re-generate”. Then click on “Create”.
You can now view your test collection. To add a component to the collection, click on “Add” under “Add new test” on the left. A pop-up will open. Here, you can enter the name of the test component, provide a description and select the type of test. Currently, only Elicited Imitation is supported. Click on ”Add” when you’re finished. Your component is now added to your collection.
On the component, you will now find the buttons “Items”, “Instructions” and “Settings” as well as a “Delete”-button.
In ILAP, you can share your pipelines. To do so, navigate to the home page. For the test you want to share, navigate to the panel and click on "Share" on the top right. Confirm that you want to share the pipeline.
Furthermore, when creating a new test collection, you can set your test visibility to "public". Just change the default "private" button under "test visibility" to "public".
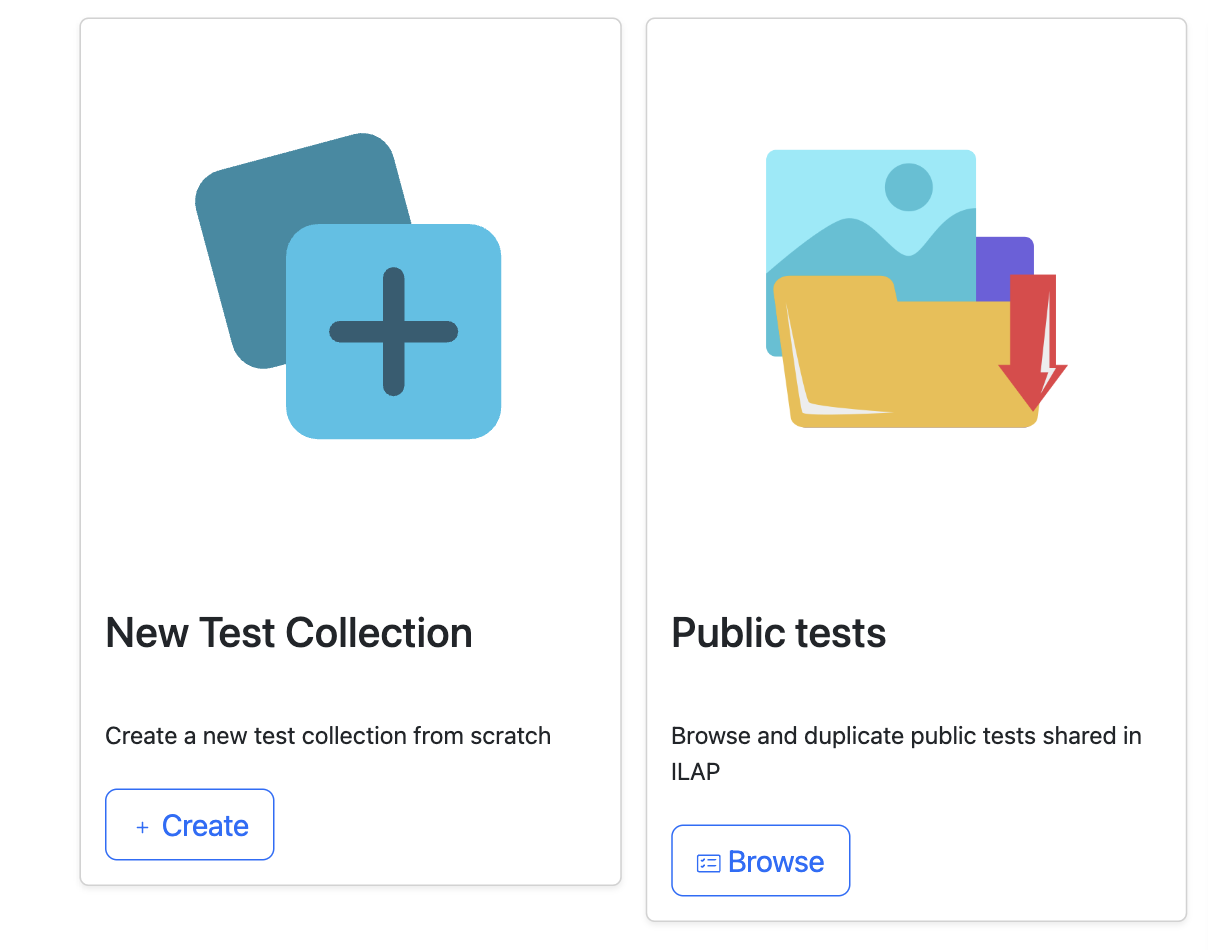
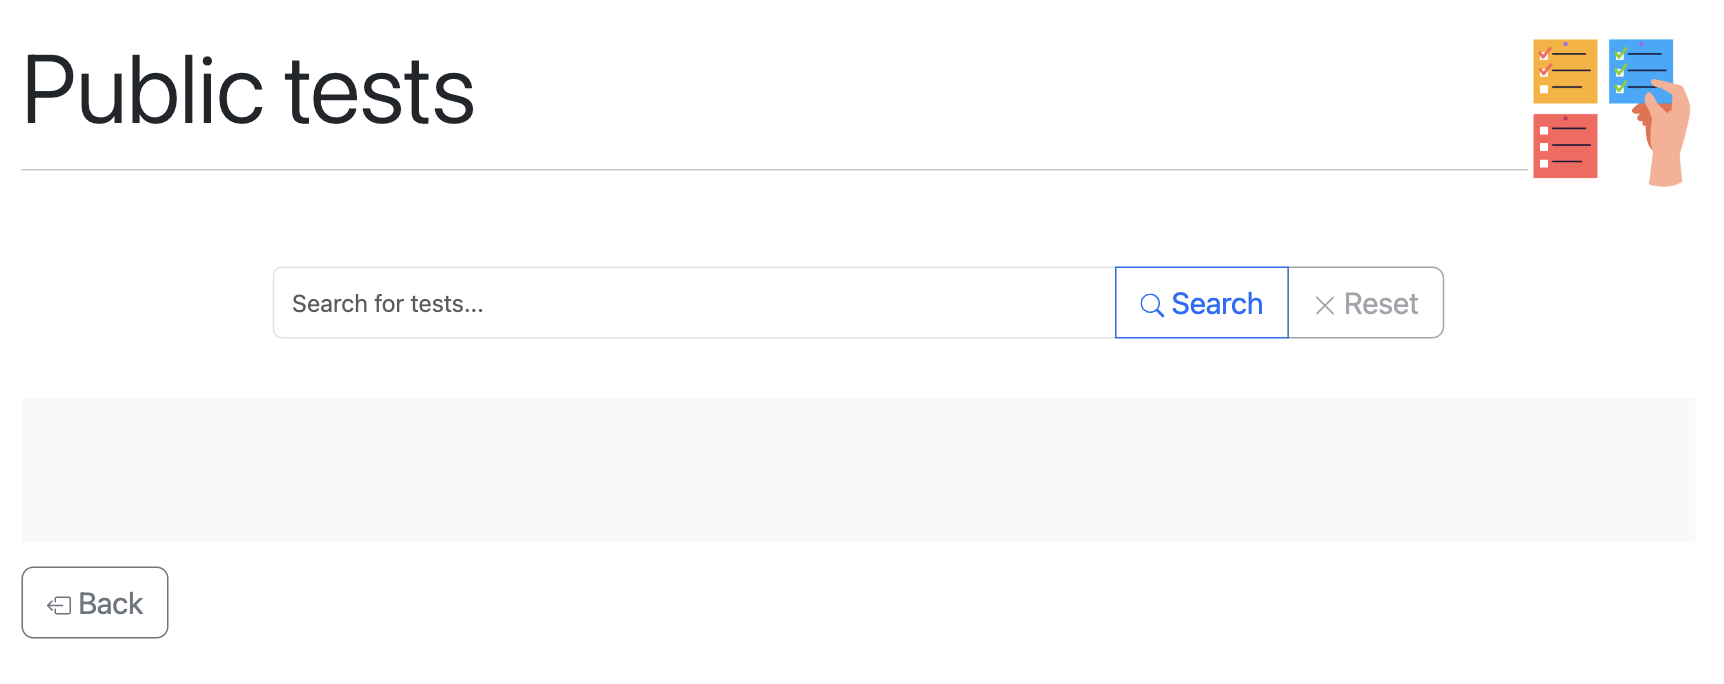
If you want to browse existing tests, navigate to the home page. On the second panel to the left of the page, called 'Public tests', click "Browse". You can now search for public tests and import those into your test collections.
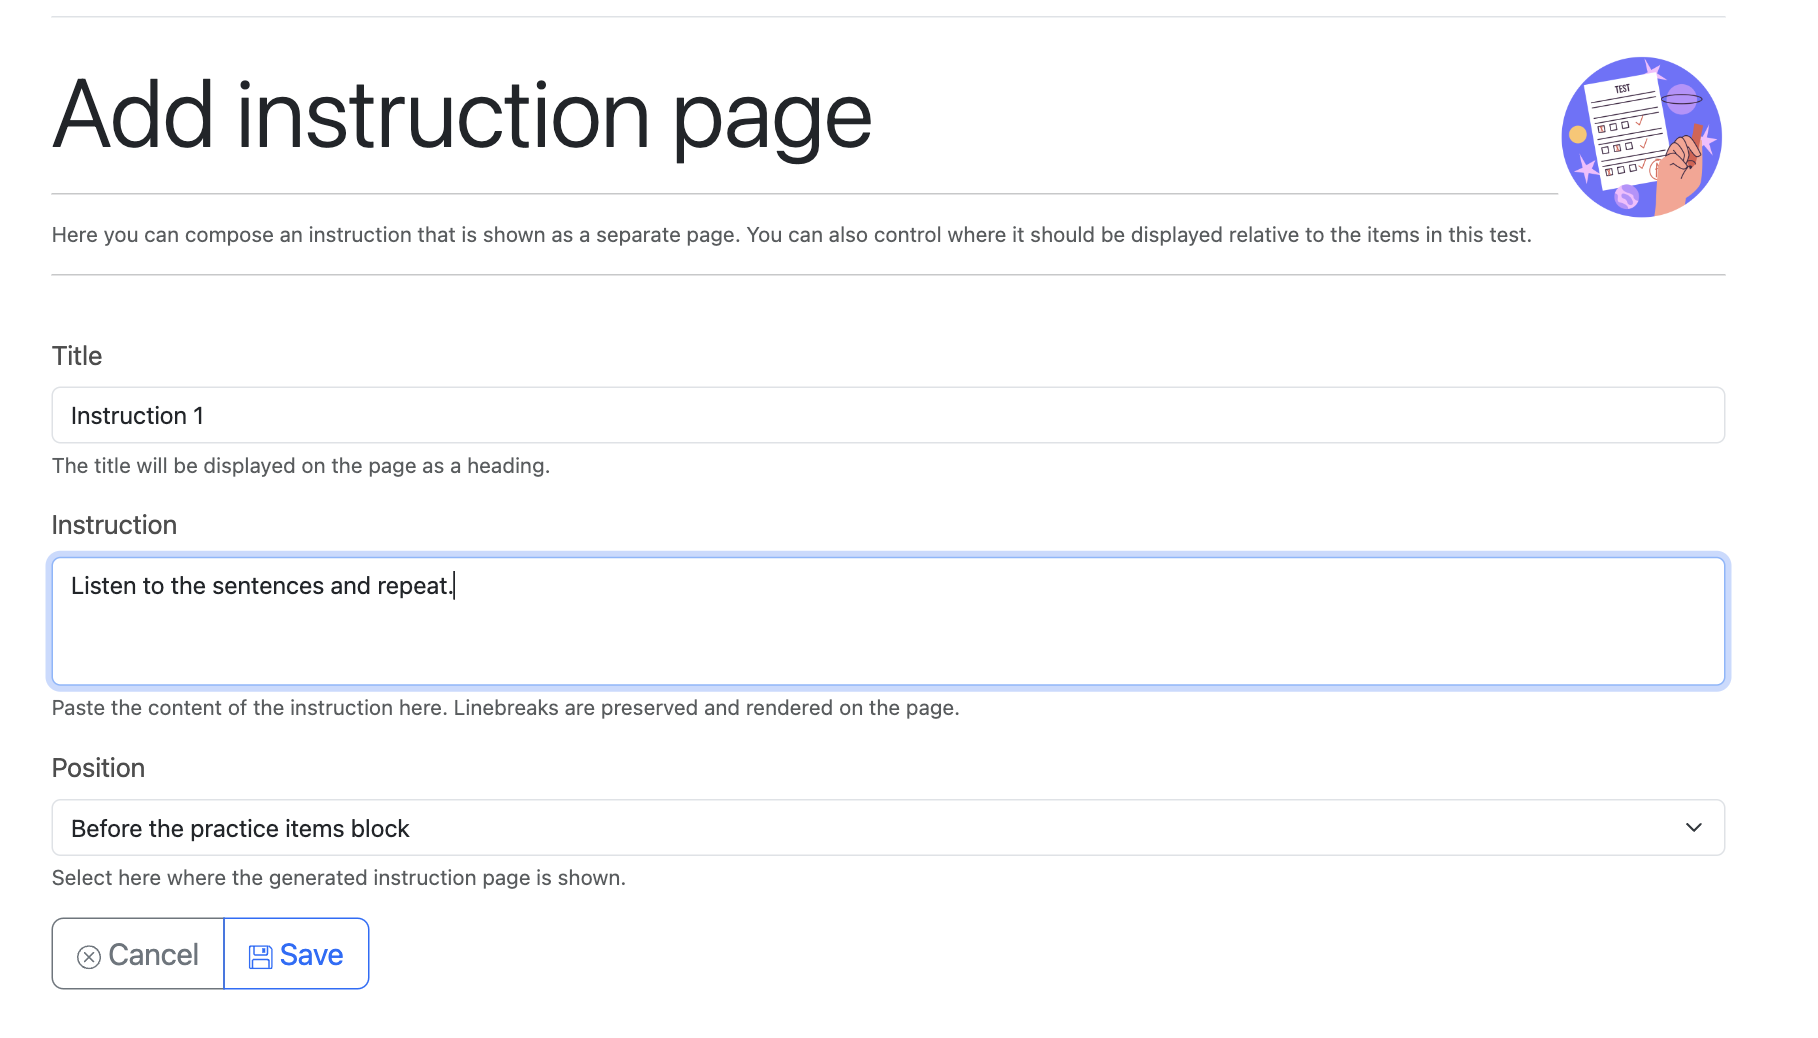
To add instructions to your component, simply click the “Instructions” button on the component in the test collection. You can now manage the instructions. Click on “Add” under “Add instruction” on the left. Now enter the title of the instruction, the instruction itself and select a position for your instruction to be shown to the test taker (e.g. before practice, before the test, etc.). Click on “Save” when you’re done.
In order to add items to your test component, select the “Items” button on the bottom of the test component. You can now manage your items. To add an item, click on “Add” under “Add item” on the left.
Add the correct sentence (the target sentence) in the field “Correct sentence”. Under “Presented sentence”, you can add either the same sentence again (if the item is grammatical) or add the sentence that the test-taker will hear, if ungrammatical. To make sentences ungrammatical automatically, select the “Make ungrammatical” button to the right next to the field. Under “Item type”, you can specify is the item should be classified as test or practice item.
Under audio file, you can either upload your own audio or generate it with AI. Just click on “generate with AI” and select a voice. A preview of the generated audio file will be heard. You can also remove your audio selection by clicking on the “Remove audio selection” button. Finally, to add a note describing the item or the item number, simply add this to the “Note” field. If you’re done, click one “Save”.
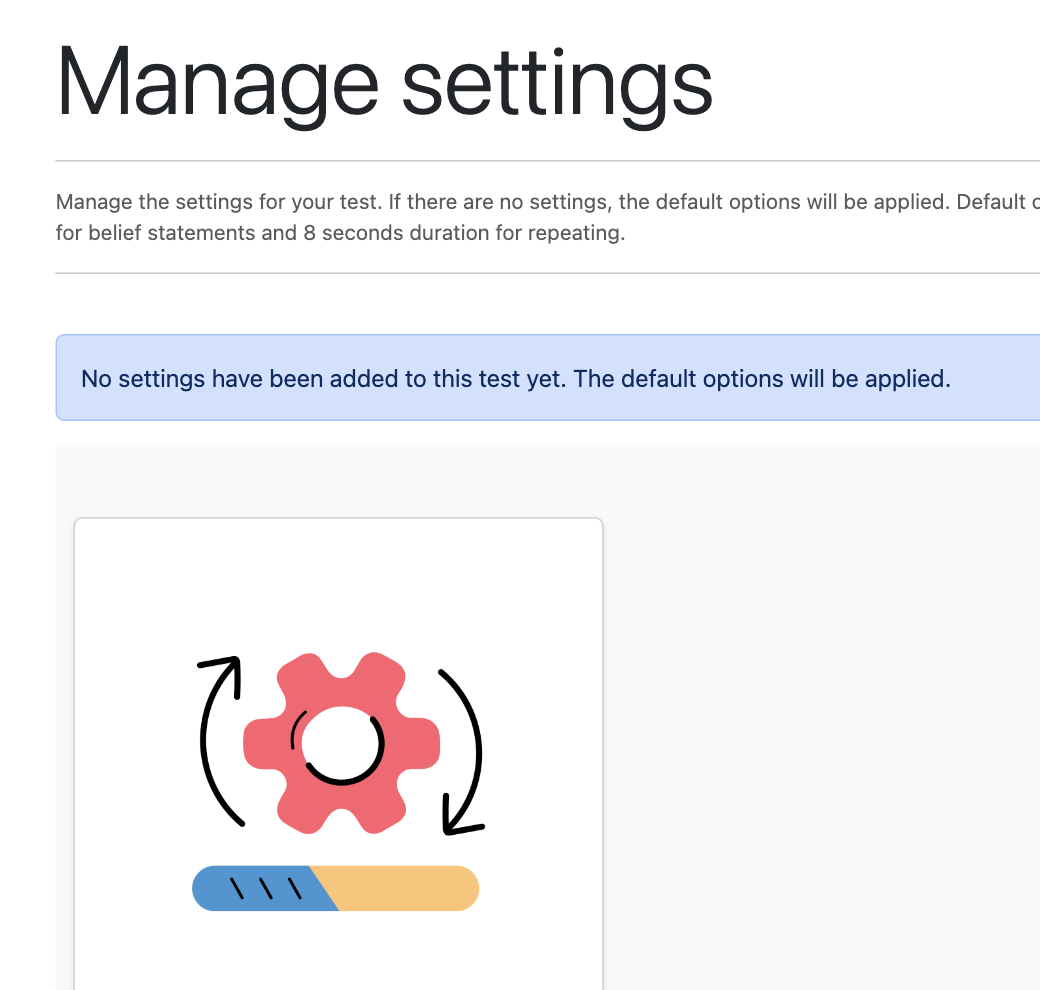
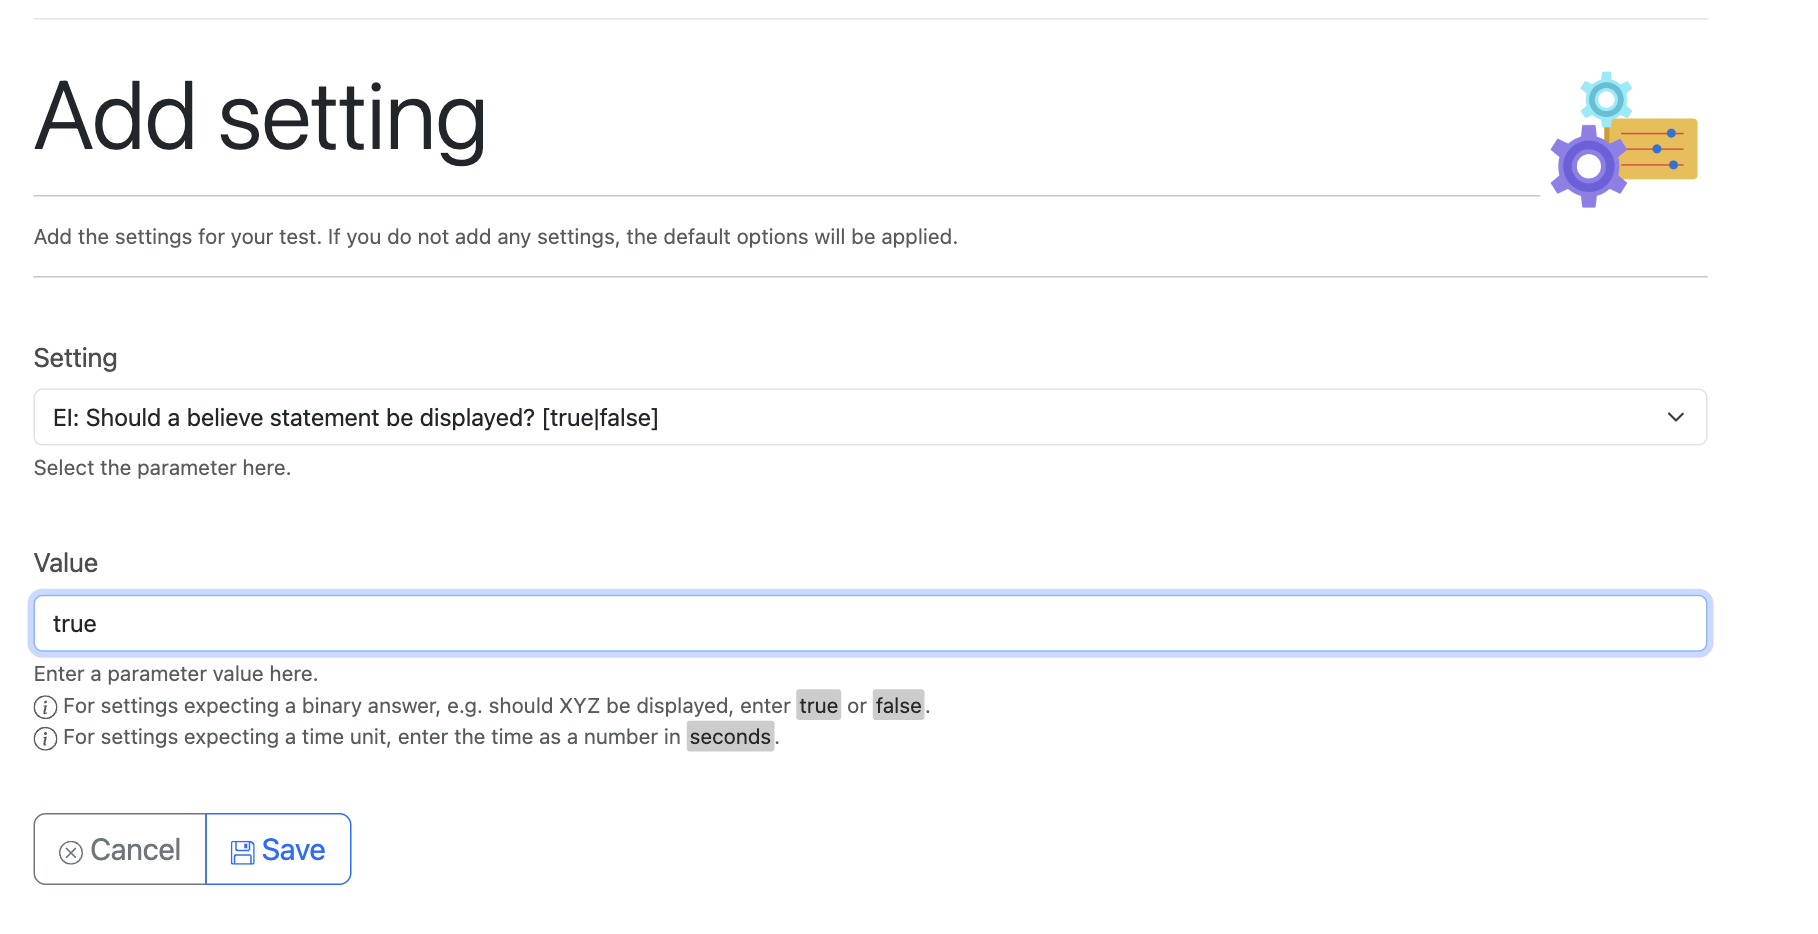
Click the “Settings” button on the component in the test collection. Now select “Add” under “Add setting” on the left. Select the setting you want to edit under “Setting” and fill in the value, e.g. true or false or a number.
You have the option to display or not display a belief statement and specify the duration of the belief statement (how long it is shown, in seconds) as well as the duration for the repetition of the test taker (in seconds). In research, this option is used to add time pressure.
If you do not add any settings to your test, the default options will be displayed. These are true for belief statements, display of belief statement for 4 seconds and recording time of 8 seconds. Click on “Save” when you are done.
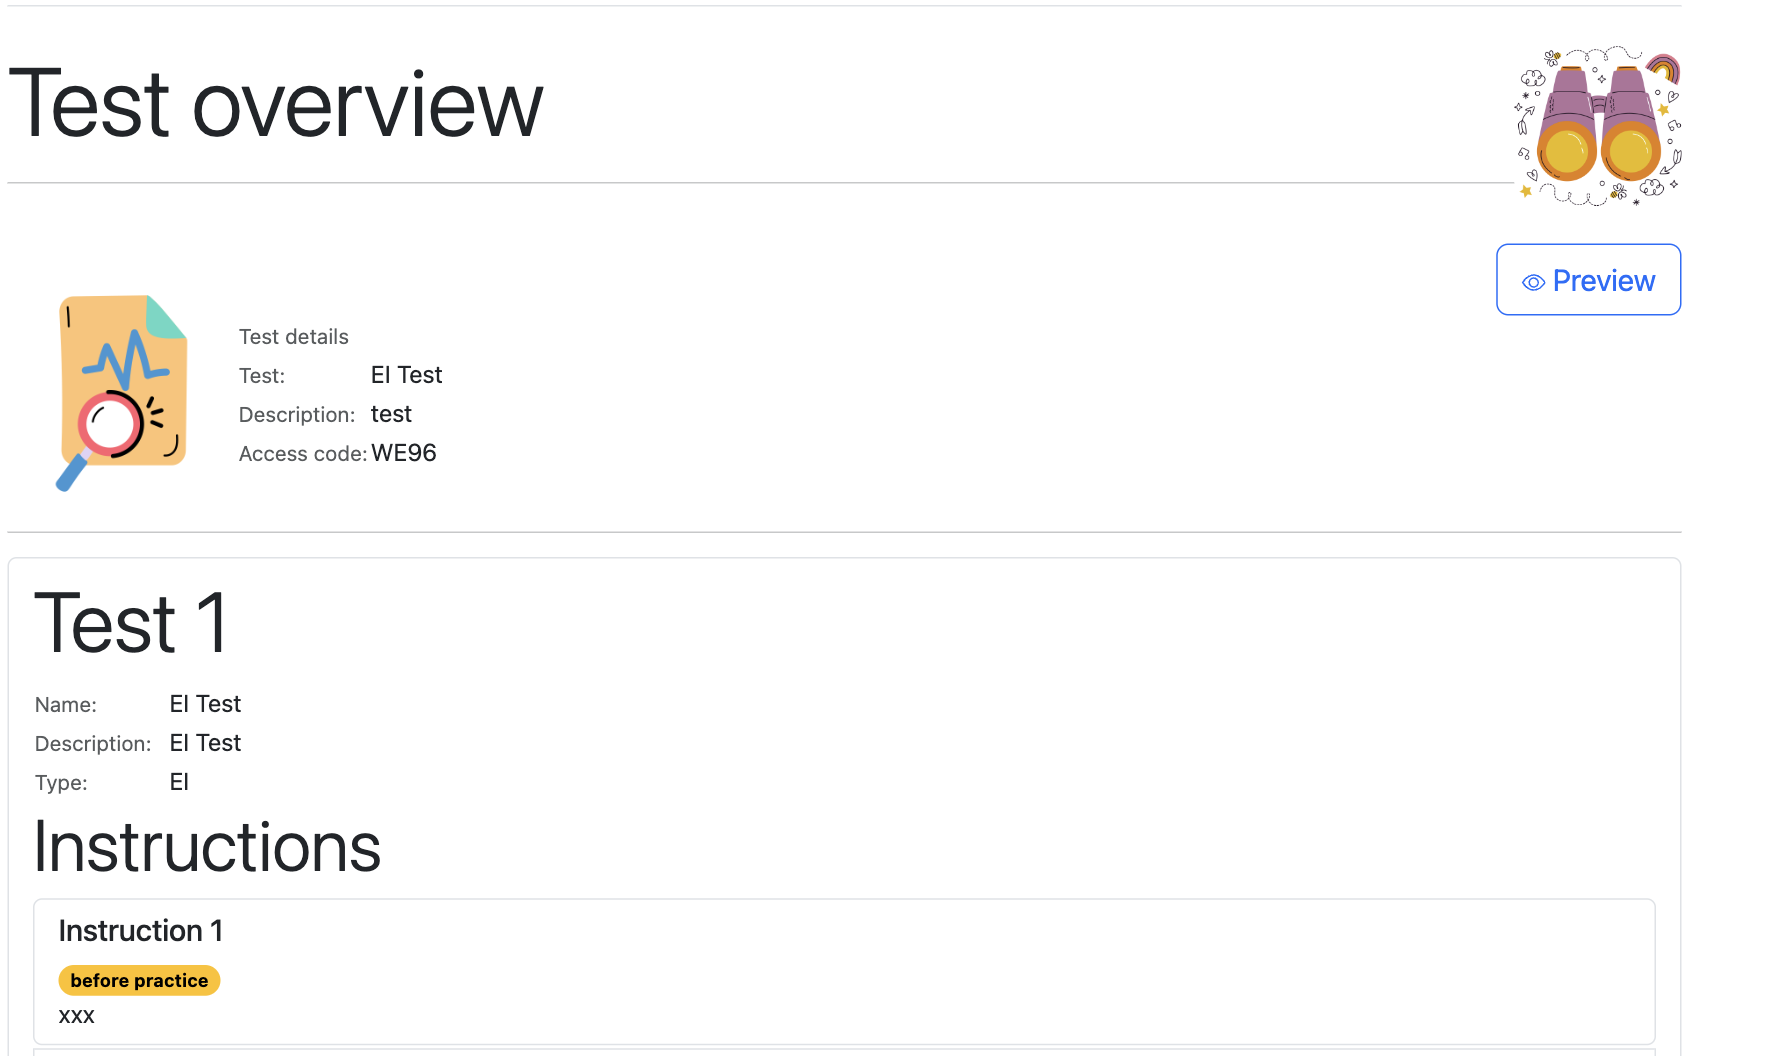
You can get an overview of your created test as well as preview it. For getting an overview of your test, including instructions you have added, navigate to the test on the home page. Select "Overview" from the menu below the test name. An overview now shows up.
In order to preview your test as it would appear to the test-taker, navigate to the top right of the overview page and click on "Preview".
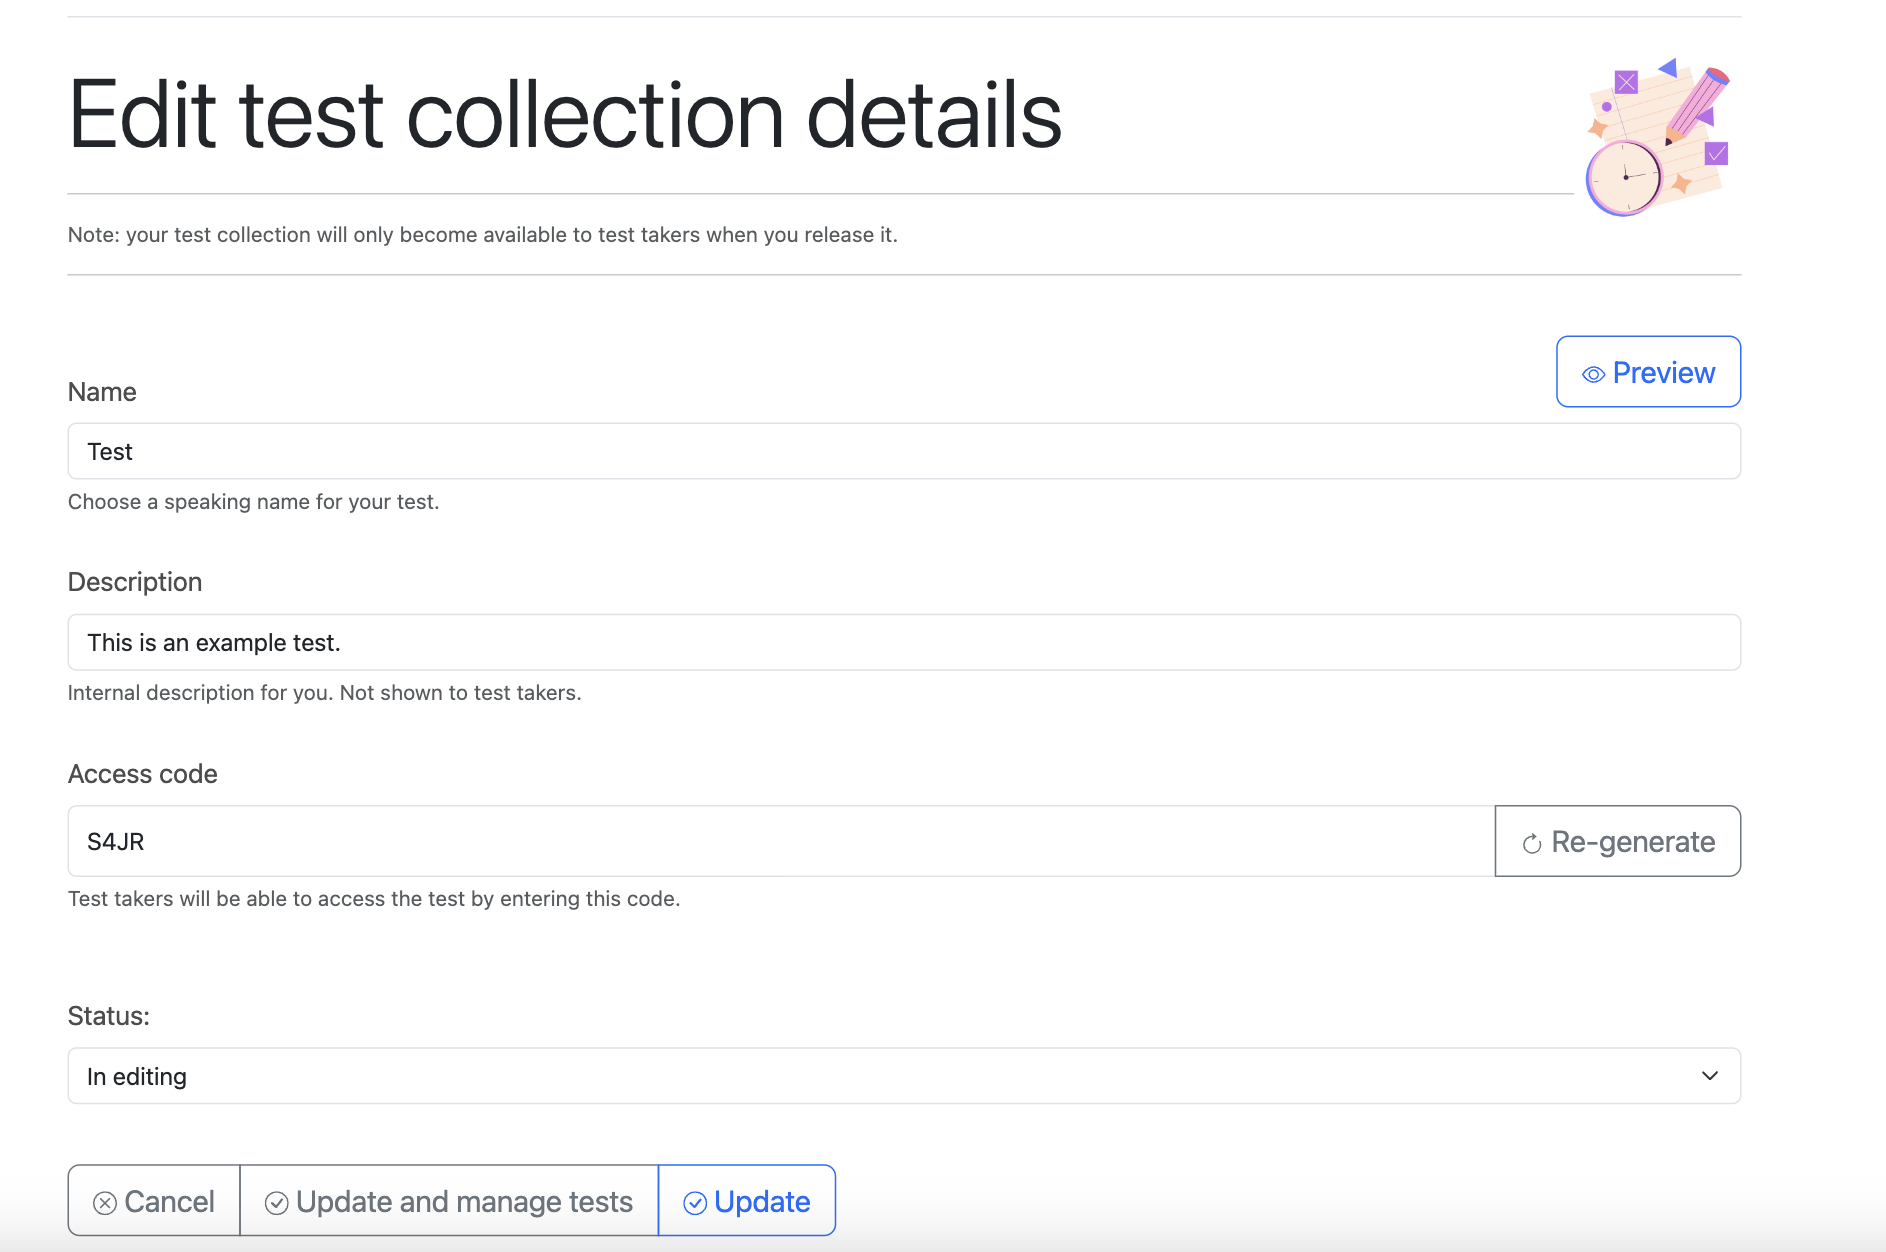
When on the test page, click on “Cancel” on the bottom of the page to go back to the test collection overview. Navigate to the test collection you want to release and click on “edit”. Under “Status”, change the status from “In editing” to “Released”. Click on “Update”. Your test collection is now released and published. Test-takers can now access it with the access code provided.
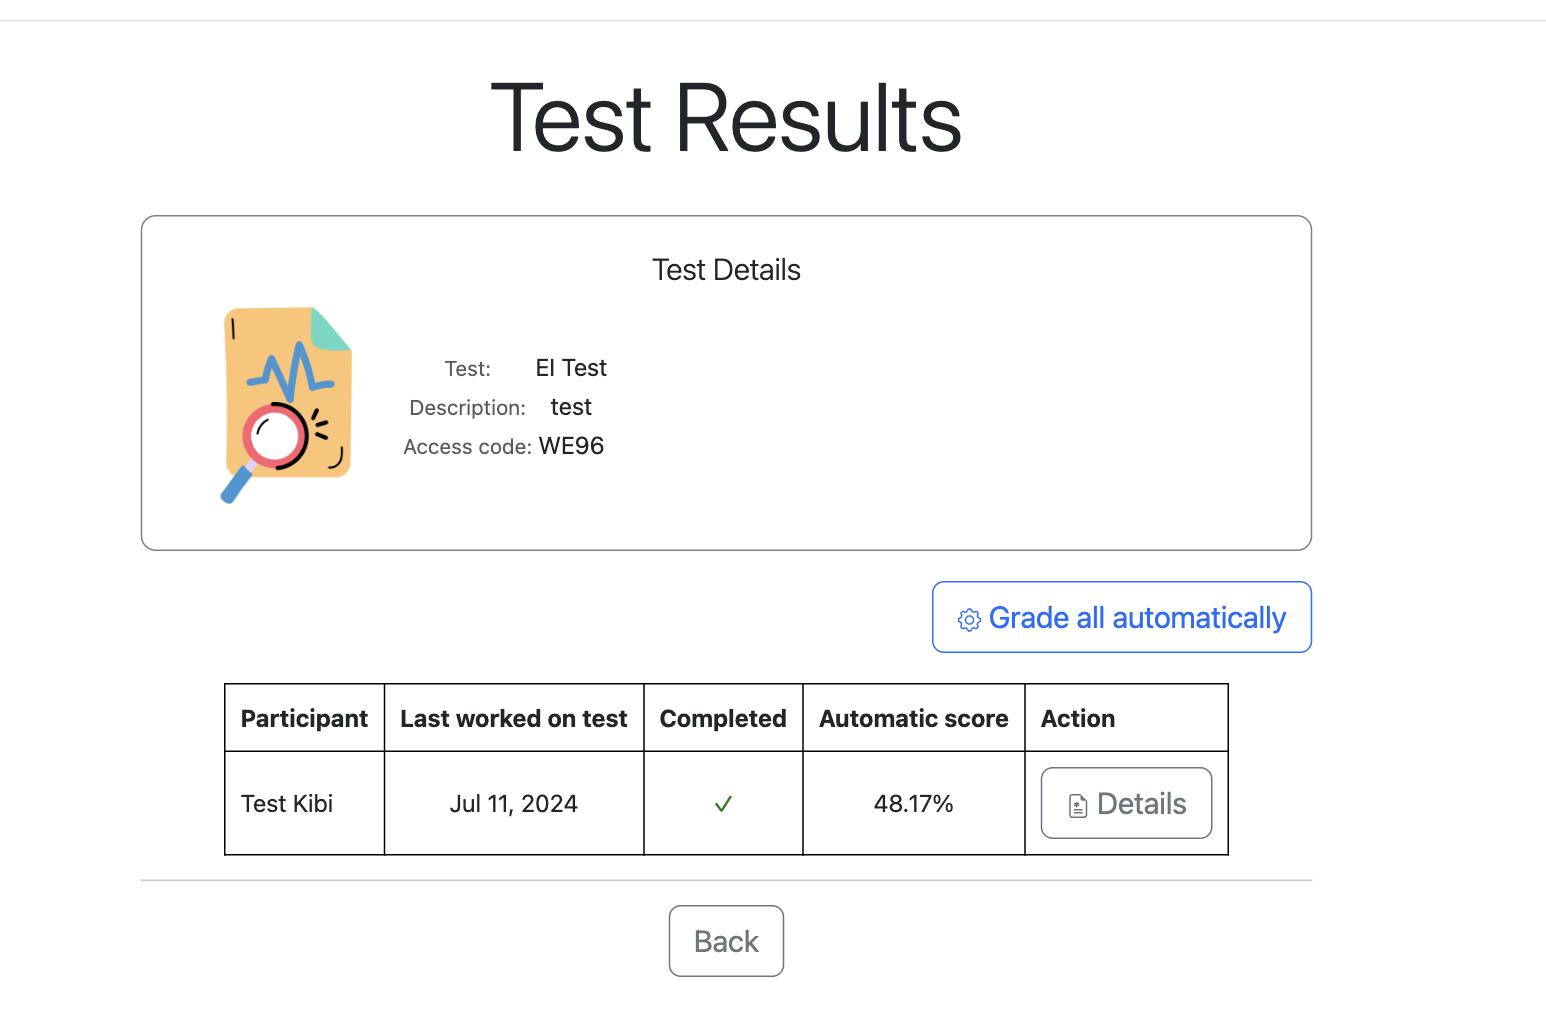
If a test has been taken by students, the menu “Results” will be available in the test collection view. Click on “Results” to go to the Test Results Interface. You will see a list of students who have completed or started the test. On the right, click “Grade all automatically” if you want the students to be scored automatically. After a while, the automatic scores will be displayed. For more information about a single test, click on “Details” next to the automatic score.
Navigate to a user you want to score manually and click on “Details”. You can now view the single answers, including the transcriptions. For playing the audio, select “Play”. In the field “Manual score”, you can enter your own score, which will override the automatic score. Save the manual scores after you have entered them.
Log in to ILAP and click on “Start test”. Enter the access code your teacher provided. Instructions should now show up.